Risk Level: Medium
Description
This plugin ensures Elastic Block Store snapshots are encrypted at rest. Snapshots must be encrypted with an AWS KMS key to ensure that data is not exposed in case of a data breach. EBS Volume encryption is not enough as even if EBS volumes are encrypted, EBS snapshots will remain unencrypted if not enabled.
About the Service
Amazon EC2: Amazon Elastic Compute Cloud (Amazon EC2) provides scalable computing capacity in the Amazon Web Services (AWS) Cloud. With the EC2 instance, you can launch as many virtual servers as you need, configure security and networking, and manage storage without worrying about the hardware needs of the process. Security Groups act as a firewall for an EC2 instance to control the incoming and outgoing traffic. You can read more about security groups here.
Impact
EBS snapshots can contain critical information of the running EC2 instances. If exposed to the public, anyone over the Internet can have access to it. Therefore, it must be encrypted before storing data to avoid data readability.
Steps to Reproduce
Using AWS Console-
- Log In to your AWS Console.
- Open the EC2 Management Console. You can use this link (https://console.aws.amazon.com/ec2) to navigate directly if already logged in.
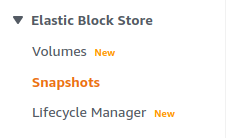
- Move to the Snapshots in the Elastic Block Store section from the left navigation pane.
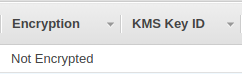
- A list of snapshots available will be displayed. Check the Encryption column, if it is equal to “Not Encrypted”, the vulnerability exists.
- Repeat steps for all the EBS snapshots you want to investigate.
Steps for Remediation
Configure volume encryption and delete unencrypted Elastic Block Store snapshots.:
- Log In to your AWS Console.
- Open the EC2 Management Console. You can use this link (https://console.aws.amazon.com/ec2) to navigate directly if already logged in.
- Move to the Snapshots in the Elastic Block Store section from the left navigation pane.
- A list of snapshots available will be displayed. Select the vulnerable snapshot by clicking on the check box next to it.
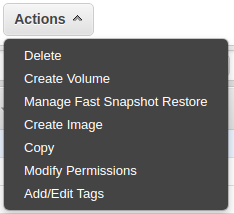
- From the Actions menu drop-down box, click on Copy.
- A new snapshot will be created. Check the Encryption option and provide a master key to enable encryption. Click on Copy when done.

- Now, again select the original vulnerable snapshot.
- From the Actions drop-down menu, click on Delete.
- Repeat steps for all the vulnerable EBS snapshots.