Risk Level: Low
Description
This plugin guarantees that the node count for instances of Spanner isn't over the permitted count. The quantity of provisioned Cloud Spanner case nodes should be under as far as possible to avoid arriving at the cutoff and surpassing the set financial plan.
Configuration Parameters
Spanner Allowed instance Node Count : This configuration parameter takes integer input from user to decide the maximum number of nodes per spanner instance. By default, the value is set to 20. In case the node instances count exceed the provided value, an alert will be issued.
About The Service
Google Cloud Spanner:
Google Cloud Spanner is a distributed relational database service that runs on Google Cloud. It is designed to support global online transaction processing deployments, SQL semantics, highly available horizontal scaling, and transactional consistency. Cloud Spanner is a Relational Database but it's different from traditional databases such as MySQL, Amazon RDS or PostgreSQL. For more information, click here.
Impact
To use Cloud Spanner, you must first create a Cloud Spanner instance within your Google Cloud project. Once an instance is created you may list, edit, or delete it. Cloud Spanner is a fully-managed database service that oversees its own underlying tasks and resources, including monitoring and restarting processes when necessary with zero downtime. As there is no need to manually stop or restart a given instance, Cloud Spanner does not offer a way to do so. Spanner Allowed Instance Node Count: This parameter specifies the number of nodes allowed per Spanner instance. An issue is created when the node count exceeds the provided threshold limit. By default, the value is 20, therefore it will return a vulnerability alert when the node count exceeds 20 nodes. This plugin ensures that the node count for Spanner instances is not above the allowed count. The number of provisioned Cloud Spanner instance nodes must be under the desired limit to avoid reaching the limit and exceeding the set budget.
Steps To Reproduce
Using GCP Console-
In order to ensure that the node count for Spanner instances is not above the allowed count, follow the steps given below:
- Firstly, use the administrator account for signing up to Google Cloud Platform Console.
- Now, from the top navigation bar, select the GCP Project you want to investigate.

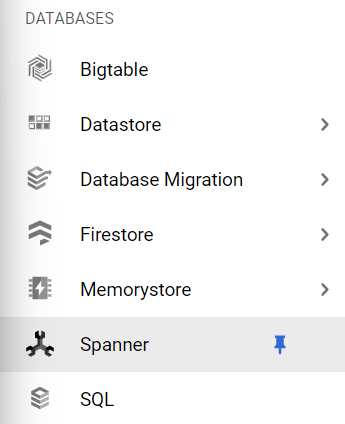
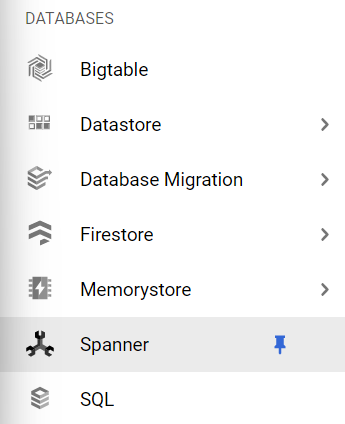
- From the Navigation Menu on the left, you may find the Databases section under More Products Section, click on it.

- A new Spanner Page will appear on the screen with a list of all the Spanner Instances.
-png-May-07-2022-07-03-45-28-AM-1.png)
- Click on the Name of the Spanner Instance you want to investigate.
-png-May-07-2022-07-03-53-25-AM-1.png)
- An Overview Page will appear of that particular Spanner instance.
- Check out the Compute Capacity column under the Overview. Note for the Nodes Count, if the node count is greater than the desired count then you need to reconfigure it.
-png-May-07-2022-07-03-59-97-AM-1.png)
- Note: you may find the approved node count on your organization dashboard from the plugin configuration.
- This way you can ensure that the node count for Spanner instances is not above the allowed count.
- Repeat the steps mentioned above for reviewing accounts in other folders/projects associated with other GCP organizations deployed within your record.
Steps for Remediation
Using GCP Console-
In order to reconfigure the node count for Spanner instances to a new node count value, follow the steps given below:
- Firstly, use the administrator account for signing up to Google Cloud Platform Console.
- Now, from the top navigation bar, select the GCP Project you want to investigate.

- From the Navigation Menu on the left, you may find the Databases section under More Products Section, click on it.

- A new Spanner Page will appear on the screen with a list of all the Spanner Instances.
-png-May-07-2022-07-04-18-95-AM-1.png)
- Click on the Name of the Spanner Instance you want to investigate.
-png-May-07-2022-07-04-25-81-AM-1.png)
- An Overview Page will appear of that particular Spanner instance.
- Check out the Compute Capacity column under the Overview. Note for the Nodes Count, if the node count is greater than the desired count then you need to reconfigure it.
-png-May-07-2022-07-04-35-05-AM-1.png)
- Note: you may find the approved node count on your organization dashboard from the plugin configuration.
- Now, click on the Edit Instance option present at the top navigation bar.
-png-4-1.png)
- A new Edit Instance page will be opened up. Under the Allocate Compute Capacity section, click on the Unit box and select the Nodes option from the dropdown menu.
-png-3-1.png)
- Now, click on the Quantity box present next to the Units box. Specify the amount you want as per your preference.
-png-3-1.png)
- Finally, click on the Save button present at the bottom.
- You may repeat the above steps for other GCP Projects under your organization.
